Ekkie Labeling Onboarding guide
Written By Casian
Last updated 25 days ago
1. Sign in
Sign in to app.ekkie.ai with microsoft OAuth. On first sign-in accept the app registration's consent prompt.
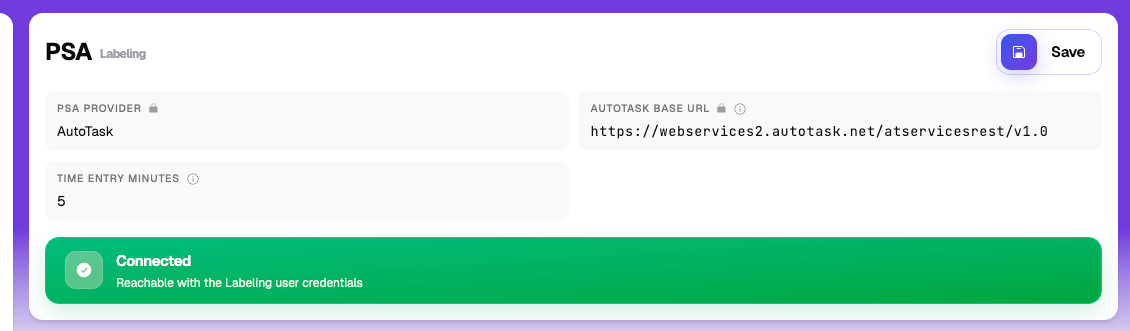
2. Configure Connection
Fill out the missing fields with your organization’s credentials, unless pre-filled by Ekkie support, click Test connection to verify the Autotask API user is reachable.
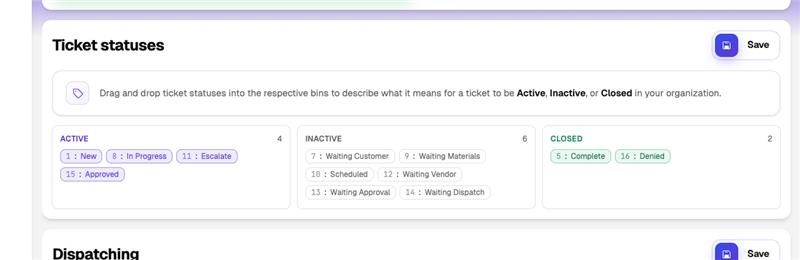
3. Configure Ticket Statuses
Configure the ticket status bins (drag and drop in active / inactive / closed) so the rest of the app knows which Autotask status IDs belong to which lifecycle state. Hit Save.
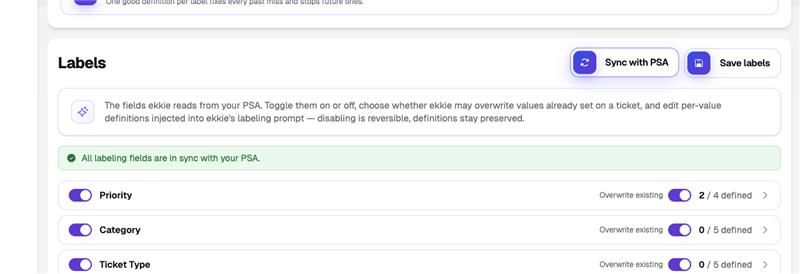
4. Sync with your PSA’s environment
Click Sync with PSA. This pulls the live picklist values (issue types, sub-issue types, queues, …) from your PSA system into your tenant's configuration. Apply Updates and Save Labels.
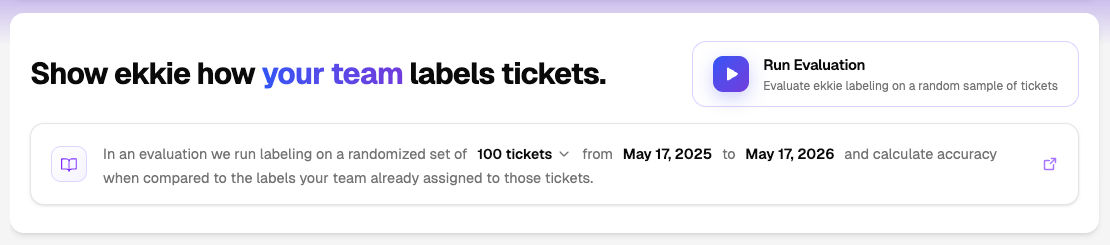
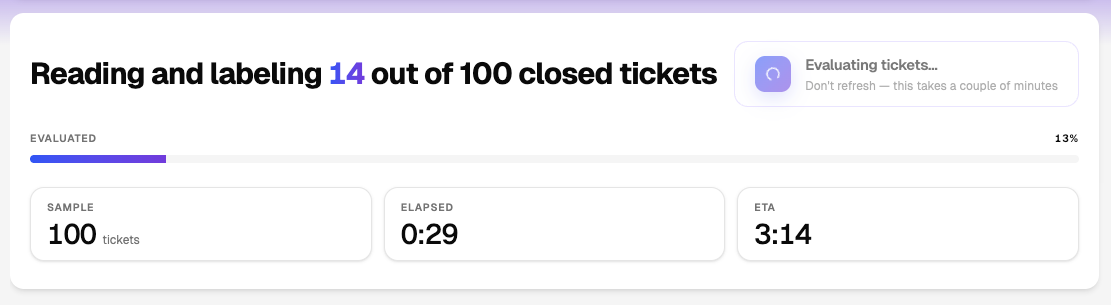
5. Run an evaluation
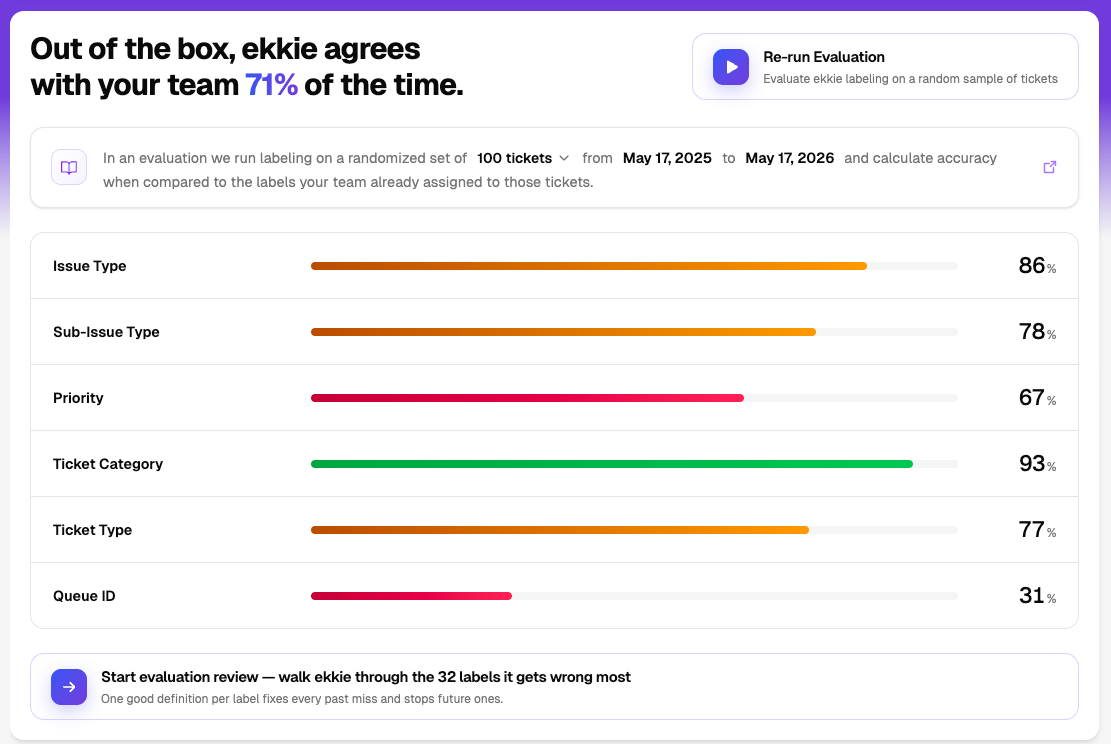
Click Run Evaluation. Ekkie labels a sample of recent closed tickets and compares against what the your team picked.
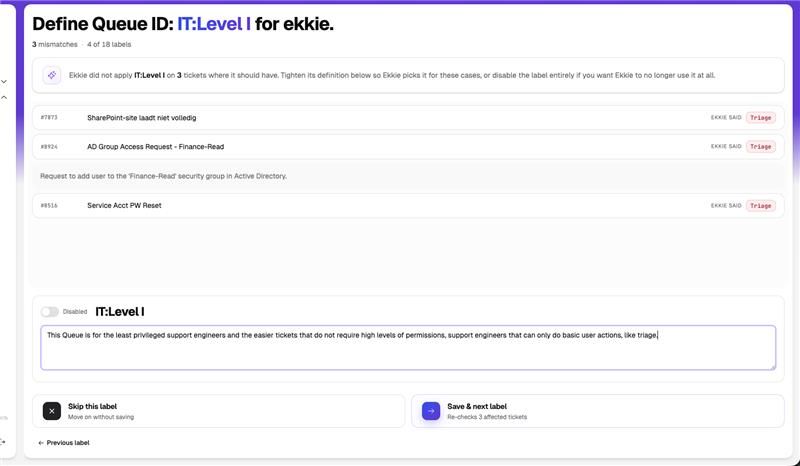
6. Tune the label definitions
After the evaluation is completed, click on Start Evaluation Review, for every label Ekkie disagrees on, write a tight definition (one good description per label fixes future Ekkie labeling mistakes).
7. Iterate until satisfied
Rerun the evaluation with the new definitions; repeat. You can re-tune indefinitely without us doing anything.
8. Let us know
Once you’re happy with the labeling, tell us and we flip the production switch (enable labeling for your tenant).